Since my room is one of the closest to being finished (and it also happens to be a sort of living space for us as it is opposite our middle floor living room) I thought I would do a bit of prettying up. The blanket I’m making for the bed should be finished by Xmas and I really want it to have a bit of a cottage-like, mix and match, arts and crafts feel. I love the colour and feel of the room but it isn’t quite there yet and a few finishing touches would make a big difference. Next year I’m going to make new curtains for it as the Ikea ones that were put up 6 years ago are very faded, but for now some dressing up will do the job. My window ledge in there is very precious; it’s the only little space I have for a place I can remember Freddie in and it has some of the gifts I was given and things I have collected on it. I’ve been feeling guilty that I don’t keep it nice enough and thought improving the look of the curtains might help 🙂
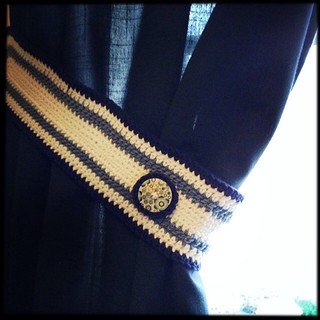
I felt my way through making this curtain tie – I hate following instructions so I just hoped for the best. I’ll give you a rough run down of the process and you’ll see that if I can do it, anyone can! It’s done in Rowan Wool Cotton with a 4.5mm hook. Since it was from under my bed and the buttons were free on a magazine, it’s practically thrifty!
- Chain stitch long enough to be about 3/4 the length of the finished tie.
- Turn back (miss the first one as a turning chain space) and DC (UK) all along one side until 3 stitches before the end.
- Do 2 DCs in each of the last 3 stitches and the first 3 of the next side and then back down the other side in DC until you reach the end again.
- Go up and down each side twice more in DC and start doing 2 DC in each stitch at roughly the same point each time. The 2DC in each stitch will keep it flat rather than becoming like a little boat but I had to just adapt as I went along to get it perfectly right. I assume different yarns would be different in what they need.
- Change colour. Repeat the process of going round but this time in TC (UK, triple crochet).
- Change back to first colour, repeat process in TC but at the middle of each end do the following step
- 2 stitches before centre of the rounded end do 1 TC and 1 DTC (double triple) in a stitch – then hop the very centre stitch, do another DTC and another TC in the next one, then carry on with 2 TC and 1 TC as before. This make a hole for the hook to go through and adds a bit of stretch.
- Change to final colour; repeat TC’s all the way round with 2TC per stitch at the curved ends as before. Finish off.
- Get some linen the size of the tie and iron on some interfacing. Use PVA on the edges of the fabric so it won’t fray. Then glue or stitch it to the curtain tie on the back.
- Carefully use sharp scissors to snip a hole in the fabric in the place between the 2 DTCs at each end.
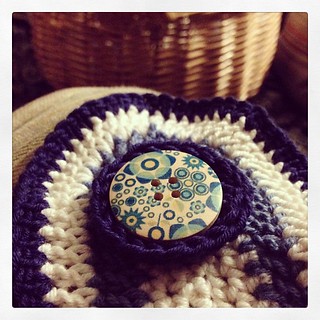
- I had some cute buttons from my Simply Crochet magazine. I wanted to put them on but they needed a little something else. I made a 4 chain circle in the outside tie colour and then did a 3 chain (as one triple) plus 14 TC’s worked into the chain.. Then I went around the edge of that circle in DCs, doing 2 in one stitch and 1 in the next alternately until the circle was complete. I sewed the button on to it and glued it to the tie.
The problem with being a stage manager-turned-blogger is you tend to only do exactly what you need to look good on show/on the blog. Which means I need to replicate this rather haphazard creation for the other side at some point. I’m not good a completing tasks. Do nag me 🙂
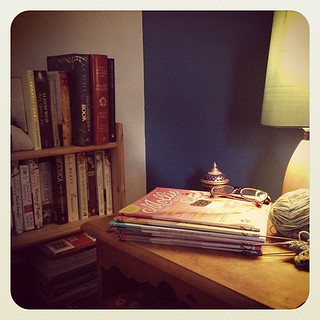
A while ago I moved Bene’s stuff out of our room (not that he sleeps in his own lovely room but never mind!) and started to reclaim ours for a place we can chill out in.

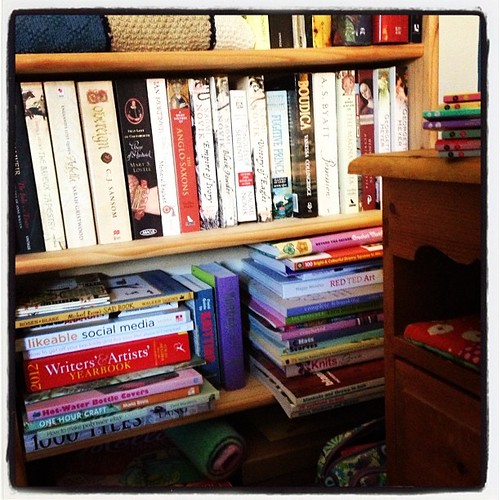
I like to have some inspirational (craft, not mind!) stuff to dip into in one place, makes an urge to craft much easier if you don’t have to hunt for things first).
So now I have my favourite yarn craft books near by.

And Max put up my dragon picture, which I made for Freddie’s first birthday. It means a lot to me and I’m so glad to have it on show now, even if it is very privately on show.
The light shades in this room are the ones which came with the bases I put in the living room when I made these lampshades. They look far better than what was there before (too small, too dark) and I’m pleased to have managed to use them. Thrifty again, see!
The last bit of our room that needs sorting out is the top of the chest of draws. It ALWAYS looks cluttered and awful. I need a plan.


