This year I thought it would be good to reclaim Mother’s Day, given that last year it was right up there with one of the saddest ‘ignore it’ days of the year. I know the girls and Max found it hard to know how to deal with it. Given I’m also trying to get back into doing crafts on the blog/with the girls/ for the business blogs, I thought I’d try my hand at something pretty and quick in between baby feeds. Since I do love my Fimo, I thought I would make some Mother’s Day card toppers, using scrap Fimo & my icing cutters and see what happened. I was hoping the girls would get involved and help me, but sadly they were too deeply engrossed in making sock dolls on the day 😆
Naturally my first point of call was Pinterest, to make up a design ideas board. Flowers, butterflies and cake seem to feature heavily in the stakes for pretty mothers day cards, so I went for flowers as easy to do in ‘between baby feed’ time slots.
I’m lucky to have lots of icing cutters that I’ve collected up through the years, which means that flowers in particular are relatively easy to cut out quickly.
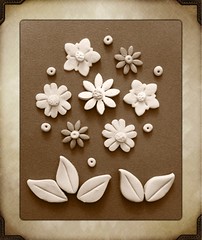
As a quick and cheerful craft, I cut out, decorated and baked a pile of shapes in various colours, all left over bits from cheap kits the girls had done recently and then spent a bit of time arranging them in various patterns on card. Actually this was the point at which various girls pottered over to help and using some scrapbooking accessories, we had a lot of fun making designs of various sorts and seeing what the effects were.
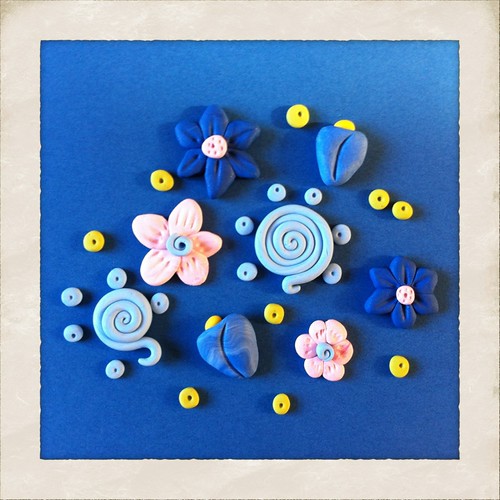
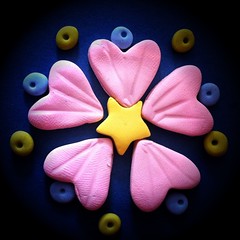
 Fimo is a great way to make personalised Mother’s Day cards, but you might not have access to all the cutters I do so, in lieu of the flower making tutorial I really must do, here are a few hand made versions. None of the ‘blue set’ flowers are cut out and all are made just with blobs of polymer clay pushed together or snakes of it rolled up.
I actually liked these even more I think and they’d be very achievable by younger children. What the girls liked was that we ended up with a stash of flowers and bits and bobs as embellishments and decorations; I’m fairly sure when I get my Mothers Day cards this year, I’ll recognise some of the pieces 😆
A few weeks ago, I happened upon a set of metal stamps, so I used these to personalise the cards a bit more. I’m more of the ‘oh my goodness I forgot, I better do something online that can be delivered direct on a Sunday’ type person and am therefore permanently put to shame by my sister, who used to work in a card shop and NEVER. EVER. FAILS. to send cards 😆 so I’m more likely to be using a service like Hallmark Greeting Cards to cover up my postal ineptitude but the stamps were rather endearing and, once I had got over forgetting to check which way up they were, I got on famously.
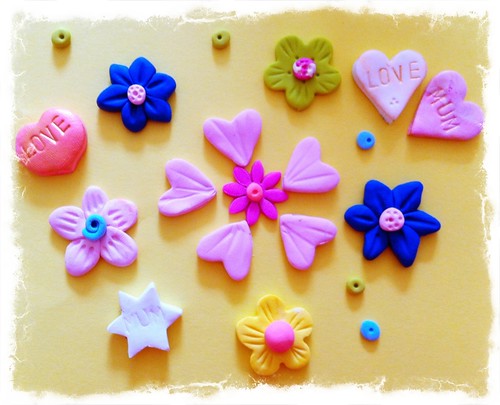
Rubbing gold acrylic paint over the surface and wiping it off with tissue, proved to be a fabulous way to add some glam to them. If you are feeling educational, you might even call that spelling practise.
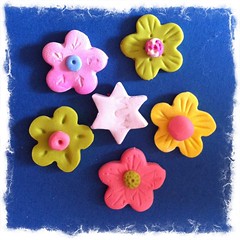
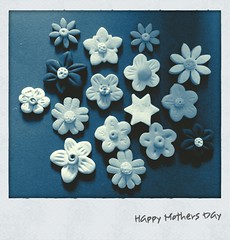
Having wended my way through this little project on my own (albeit at some speed, so I’m not sure these are my best work ever!) I realised that I’d happened upon a fair few ideas for expanding similar projects. One was that the girls could easily photograph their artwork, edit it and print it out, so that it was a card of their on design from the ground up, but ending in a printed piece of work. Just using a phone app, we came up with these quite quickly, which, printed on glossy paper, would look gorgeous.
All I need to do now, aside from being a nice enough mum to inspire them to have a go themselves, is to come up with some other projects to put these ideas into practise with and I can probably call this Design and Technology 😉







This is an amazing idea…I know where my Mother’s Day Card is coming from this year!
Love these! Wish my mum was still here so I could make some for her, but will just point my girls in your direction and hope they take the hint! They are gorgeous – thank you for sharing x